- Awards Tool
- Copying Content
- Syncing Gmail Calendar with eConestoga
- Syncing iCal with eConestoga
- Syncing Office365 Calendar with eConestoga
- eConestoga Community Shells
- Request Custom Shells
- End Dates & Controlling Course Visibility
- Enrollment & User Roles
- Keeping Your ePortfolio After You Graduate
- Grades Setup
- Merging Courses
- Publishing Your Grades
- Quiz Submission Views
- eConestoga Student Reference
- Special Access in eConestoga Quizzes
Our Guides Have Moved!
If you have bookmarks to our old guide site, please update them!
You can find this guide in its new location here:
Create a Set of Groups
Create a Set of Groups
The Groups tool allows you to define groups of students who will work together on assignments or other course work. Once you have set up your Groups, you can connect them to an Assignment Folder or Discussion Topic to allow your students to work collaboratively within those tools.
A useful thing to understand about the Groups tool is that it assumes you may want more than one set of Groups in your course. For example, you may want one set of partner groups for weekly lab work, as well as larger groups of 4 or 5 for a major group project or presentation. As such, when you create Groups in your course, you will not be asked to manually construct each individual group by hand. Instead, you will be asked to build a Category of groups with specific numbers of students, and then the system will create as many individual groups as are needed to cover your class size.
To build a Category of groups:
- Go to Course Tools -> Groups.
- Click New Category at the top.
- Configure the options for how the Groups should be set up.
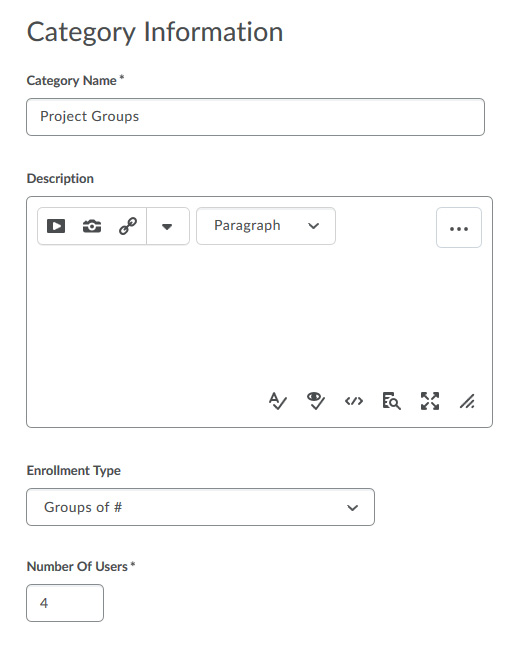
- Category Name: This is not the name of a specific Group (e.g., "Group 3"), but rather, the overall name of the entire Category of Groups (e.g., "Project Groups").
- Enrollment Type: Probably the most important setting when building a Category of Groups, this determines how students will be added to their groups.
- No Auto Enrollments: The system will not add students to any groups. Instead, the Instructor tells the system how many groups to build, and then must add students manually to each one.
- Auto Enroll (appears in the list simply as "# of Groups" and "Groups of #"): Either specify the total number of groups to be built, or specify how many people should be in each group and let the system build as many as are needed. The system will automatically randomize students across the available groups. If you select either of the Auto Enroll options, make sure to also check the option under Advanced Properties to Auto-enroll new users, which ensures that late registrants are also added to groups as they arrive.
- Self-Enroll: The system will create enough groups to fit the students in your class, but will allow students to select their own groups.
- Number of Users/Number of Groups: Changes depending on the Enrollment Type you selected.
- Restrict Enrollments To: Do not use this field. Leave it set to No Restrictions.
- Group Prefix: An optional field. By default, groups will be titled "Group 1", "Group 2", etc. If you specify a prefix, that text will be used in place of "Group" - e.g., if you type "Project Team", the groups will be titled "Project Team 1", "Project Team 2", and so on.
- We recommend skipping the other settings. When you are finished, click Save and Close at the bottom of the screen.
