- Awards Tool
- Copying Content
- Syncing Gmail Calendar with eConestoga
- Syncing iCal with eConestoga
- Syncing Office365 Calendar with eConestoga
- eConestoga Community Shells
- Request Custom Shells
- End Dates & Controlling Course Visibility
- Enrollment & User Roles
- Keeping Your ePortfolio After You Graduate
- Grades Setup
- Merging Courses
- Publishing Your Grades
- Quiz Submission Views
- eConestoga Student Reference
- Special Access in eConestoga Quizzes
Our Guides Have Moved!
If you have bookmarks to our old guide site, please update them!
You can find this guide in its new location here:
Create a Quiz - The Question Library
Create a Quiz - The Question Library
What is the Question Library?
The Question Library is the place in your course where you will build your quiz questions. Once questions exist in the Question Library, you can then import those questions into one or more Quizzes that you create in your course.
Video: Benefits of Question Library
Accessing and Organizing your Question Library
- Go to Course Tools > Quizzes.
- Click the Question Library tab at the top.
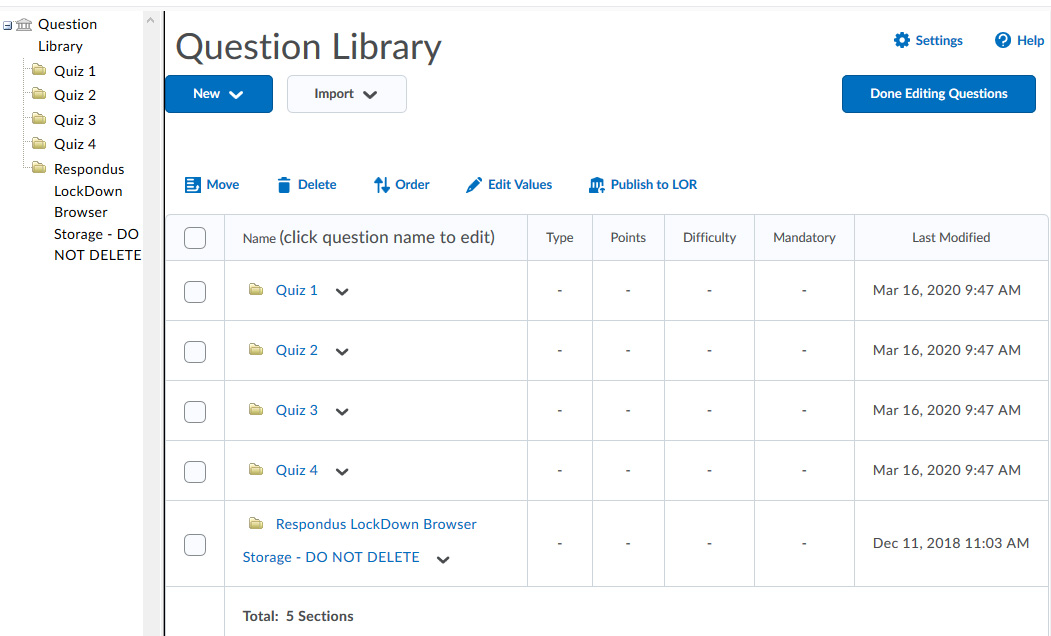
- You will now find yourself in the Question Library. When working within the Question Library, it's important to keep your questions organized from the start by creating Sections (which act like Folders) to file different sets of questions into. For example, you might want to have:
- One section for each Quiz that contains all questions on that Quiz. If you aren't sure whether the next two options would be useful for your course, picking this option as a default is usually a good starting point.
- One section for each Quiz, further broken down by question type. (e.g., "Quiz 1 - Multiple Choice" and "Quiz 1 - Written Questions"). This type of section structure is particularly useful if you intend to build your quiz with Question Pools (e.g., each student gets 10 Multiple Choice questions out of a pool of 20).
- One section for each Unit of the course, or each Chapter of the textbook. This breakdown is helpful if you intend to re-use questions from a smaller quiz on a later exam, as it helps you to make sure you're pulling exam questions from every unit of the course.
- To create your first Section, click New at the top of the screen, then choose Section from the list of options that appears.
- On the next screen, enter a Title for the Section (the other options can generally be skipped), then click Save at the bottom.
- You will be returned to the Question Library, where your Section will now be displayed beside a yellow folder icon. Repeat steps 4 & 5 until you've created all of the Sections you need for your course.
- When you've built all of the Sections you currently need, click the title of the first Section to open it.

At this point, you're ready to start Creating Questions.